AlphaServer DS10L Quad-Bracket Rackmount Installation
Order Number: EK-DS10L-QM
This document provides a detailed installation guide for mounting AlphaServer DS10L systems into a rack using quad-brackets.
Key Steps and Information:
- Unpack Rackmount Kit: Identify all components, including quad-brackets, U-clips, screws, threaded guide pins, and rackmount ears.
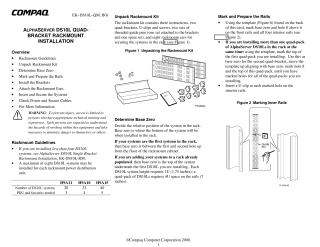
- Determine Base Zero: Decide the starting point (bottom of the system) for installation in the rack. This depends on whether it's the first system or being added to an already populated rack. A quad-pack requires 4U (7 inches) of rack space.
- Mark and Prepare the Rails: Using a provided template, mark "base zero" and "hole 8" on both front and interior rack rails. If installing multiple quad-packs, adjust the base zero mark for each. Insert U-clips into the marked holes on the interior rails.
- Install the Brackets: Position the quad-brackets by aligning their front guide pins into the sixth hole above base zero, and their rear guide pins into the hole two below the U-clip. Secure the brackets with screws at the U-clips.
- Attach the Rackmount Ears: Secure the rackmount ears to the front edge of each AlphaServer DS10L system.
- Insert and Secure the Systems: Starting from the bottom, slide each system onto the installed brackets. Push them back until they latch, then secure them by tightening captive screws on the rackmount ears.
- Check Power and Secure Cables: Connect power cords, route them to the power distribution unit (PDU), manage cabling for multiple systems, and connect to the power controller unit.
The document also includes safety warnings (limiting access to trained personnel), guidelines on the maximum number of DS10L systems per rackmount PDU, and references to additional documentation for single-bracket installations or other technical details.
Related Documents
| AlphaServer DS10L Single Bracket Rackmount Installation | EK-DS10L-RM |
Site structure and layout ©2025 Majenko Technologies