StorageWorks HSZ20 Lead Acid Battery Replacement Instructions
Order Number: EK-Z20BR-RP
This document provides step-by-step instructions for replacing the lead-acid battery in an HSZ20 controller.
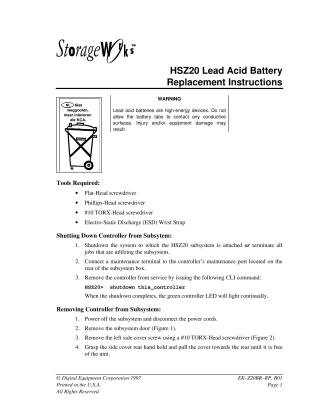
Key Safety Warning:
- Lead acid batteries are high-energy devices. Avoid contact between battery tabs and any conductive surfaces to prevent injury or equipment damage.
Required Tools:
- Flat-Head, Phillips-Head, and #10 TORX-Head screwdrivers.
- Electro-Static Discharge (ESD) Wrist Strap (mandatory for battery removal and installation).
Procedure Overview:
- System Shutdown:
- Shut down the system or terminate all jobs using the HSZ20 subsystem.
- Connect a maintenance terminal and issue the
shutdown this controllerCLI command.
- Controller Removal from Subsystem:
- Power off the subsystem and disconnect power cords.
- Remove the subsystem door, then the left side cover.
- Remove the angle bracket.
- Disconnect all cables from the controller, noting their placement for reconnection.
- Press to free the controller housing from the front bezel, then remove the controller from its housing.
- Controller Cover Removal:
- Remove various screws (flat-head, pan) from the controller cover.
- Slide the cover forward carefully to avoid damaging LEDs and buttons.
- Cache Battery Replacement:
- Crucially, use an ESD wrist strap before proceeding.
- Disengage the battery-cable latching connector and slide the old cache battery out of its tray.
- Slide the new battery into the tray and push its connector wire until it snaps into position.
- Reassembly:
- Reverse all removal instructions: replace the controller cover, reattach all cables, and return the controller to the subsystem.
- Battery Disposal:
- Return the old battery to a Digital Equipment Corporation Service Center, or recycle it at a local hazardous material disposal location according to regulations.
Site structure and layout ©2025 Majenko Technologies