H7263 Power Regulator Installation Card
Order Number: EK-H7263-IN
This document is a quick reference guide for installing or replacing the H7263 power regulator in DEC 7000/10000 AXP™ or VAX 7000/10000 systems.
Key steps and information include:
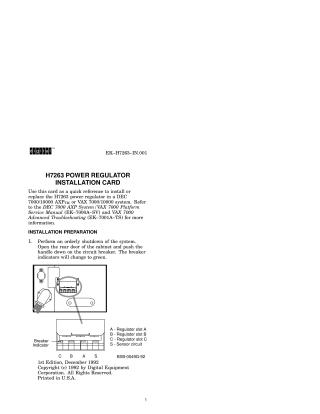
Preparation:
- Perform an orderly system shutdown.
- De-energize the system by pushing the circuit breaker handle down (indicators turn green) and securing it with a padlock.
- Open the front door, loosen screws, and carefully pull out the existing regulator (it weighs about 20 kg/40.4 lbs).
- When removing, cover the 33-pin DC connector with conductive foam to prevent stored energy discharge.
Installation:
- Ensure the new regulator is correctly oriented with the precharge stop in the down position.
- Seat the regulator gently in its slot, then push it in.
- Wait 5 seconds, then lift the precharge stop and push the regulator in the rest of the way.
- Tighten the captive screws.
- Remove the padlock and switch the circuit breaker back to "On".
Verification:
- Power up the system by turning the keyswitch to Enable or Secure.
- Check the Run (green) and Fault (yellow) LEDs on the regulator.
- Crucially, if the yellow Fault LED is solid "On," it indicates a fatal fault, and the power regulator must be replaced.
- A table summarizes various LED states, including no AC power, nonfatal faults, battery discharge mode, and normal operation. Nonfatal faults include internal heatsink temperature warning, power factor correction failure, and battery test failure.
For more detailed information, the document refers to the DEC 7000 AXP System/VAX 7000 Platform Service Manual and VAX 7000 Advanced Troubleshooting guide.

Site structure and layout ©2025 Majenko Technologies